Are you someone who is utilizing the WordPress ecosystem for your website?
Then, you must be knowing that every now & then, there is an update lurking on your WordPress Admin Dashboard. However, most people skip this message which costs them heavily.
According to research carried out by SSLstore.com, 49.07% of the top 10,000 sites are not using the latest WordPress version. 33.58% of those sites are two updates behind. In spite of this scenario, people blame WordPress security for any website failure.
The reality is precisely the opposite. All these updates consist of bug & security fixes. So, if you can update your WordPress Core as well as the plugins & themes regularly, then you can save your website from getting hacked.
Also, it is important to make sure that whichever WordPress theme you are using for your website, it follows high-coding standards of WordPress and W3C.
Why Update to the latest version of WordPress?
Suppose you have an online store that is running on an older version of WordPress. E-commerce sites have payment gateways and are always vulnerable to cyber attacks. Here is the list of reasons for which you should update to the latest version of WordPress:
- Satisfactory level security
- Latest features and functionalities
- Speed and performance optimization
- Compatibility with modernized themes, plugins & web technologies
Few Things To Remember Before Updating
Before going into the details, there are few prerequisites that you need to fulfill.
1. Creating Backup For The Website
Before you click the update button in WordPress, it’s essential to take a full backup of your WordPress website. During the update, if any error occurs, then it could be curtains for you.
Therefore, always take a full backup of your WordPress site. For that purpose, you can utilize any of the following plugins:
- UpdraftPlus
- VaultPress
- BackupBuddy
- BoldGrid Backup
- BackWPup
2. Deactivating All The Plugins
WordPress experts around the globe recommend that you should deactivate all the plugins before updating the WordPress core.
Usually, plugin-conflict doesn’t cause many issues, but when it does, then it could make your site unusable.
So, you should deactivate all the plugins. However, always remember to re-activate all the plugins after the update.
Now, with the things put in place, let’s analyze various methods to update the WordPress Ecosystem in a safe & secure manner.
3. Step-By-Step Guide To Update WordPress Core
There are four ways through which you can update the WordPress Core. They are as listed below:
- Via the WordPress Admin Dashboard
- Manually with the Help of FTP
- Using SSH & WP-CLI
- Automatically via cPanel, wp-config.php & functions.php
Method 1: Via the WordPress Admin Dashboard
It is one of the easiest and simplest methods for updating the WordPress core. If there is an update for the WordPress core, then there will be a notification on the WordPress Admin Dashboard as shown in the screenshot below.
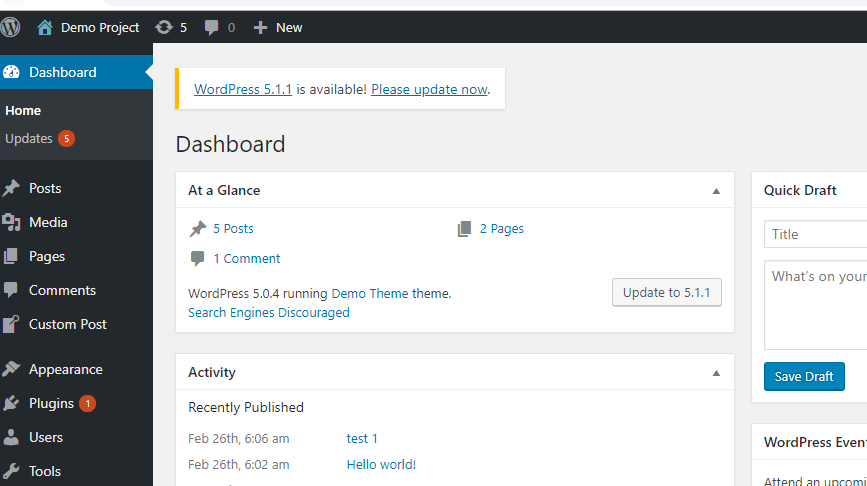
Now, click on the “Please Update Now” link it will redirect you to a whole a window as shown in the screenshot below.
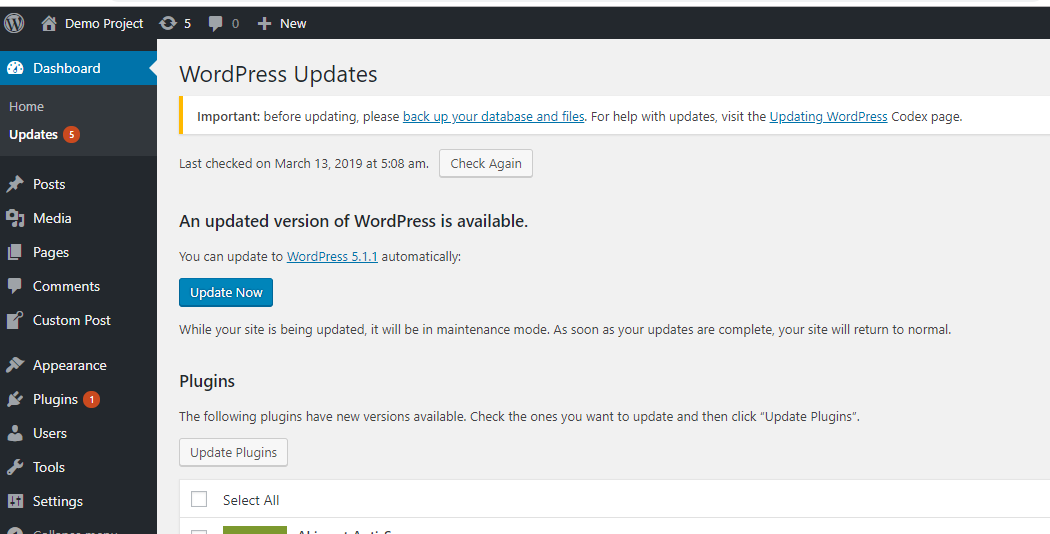
Here, the WordPress ecosystem will tell you to create a backup of your database and files. While the update is taking place, your site will be in maintenance mode.
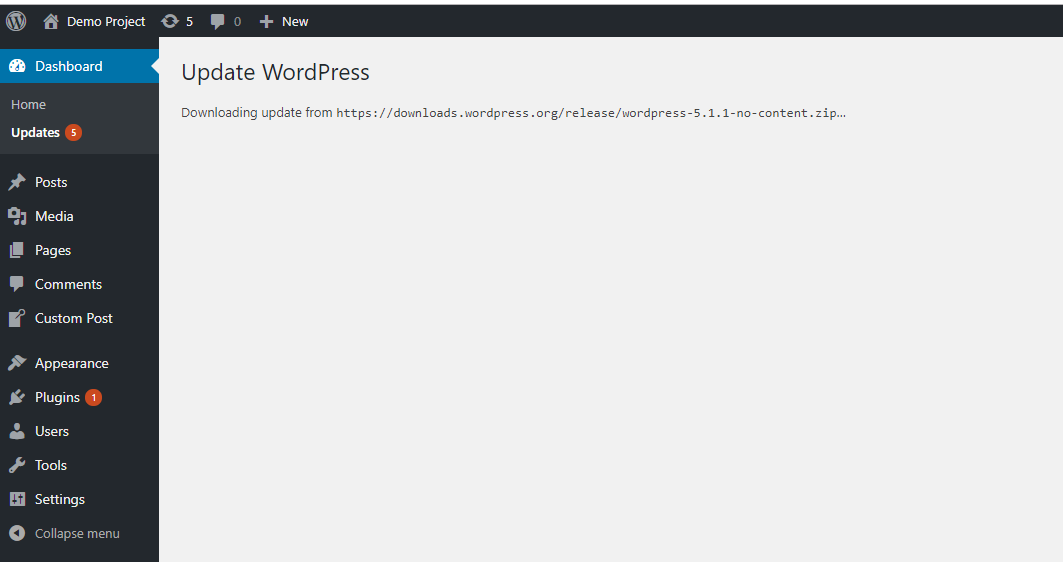
Once you take the backup, click on the “Update Now” button which will start the update as shown in the screenshot below:
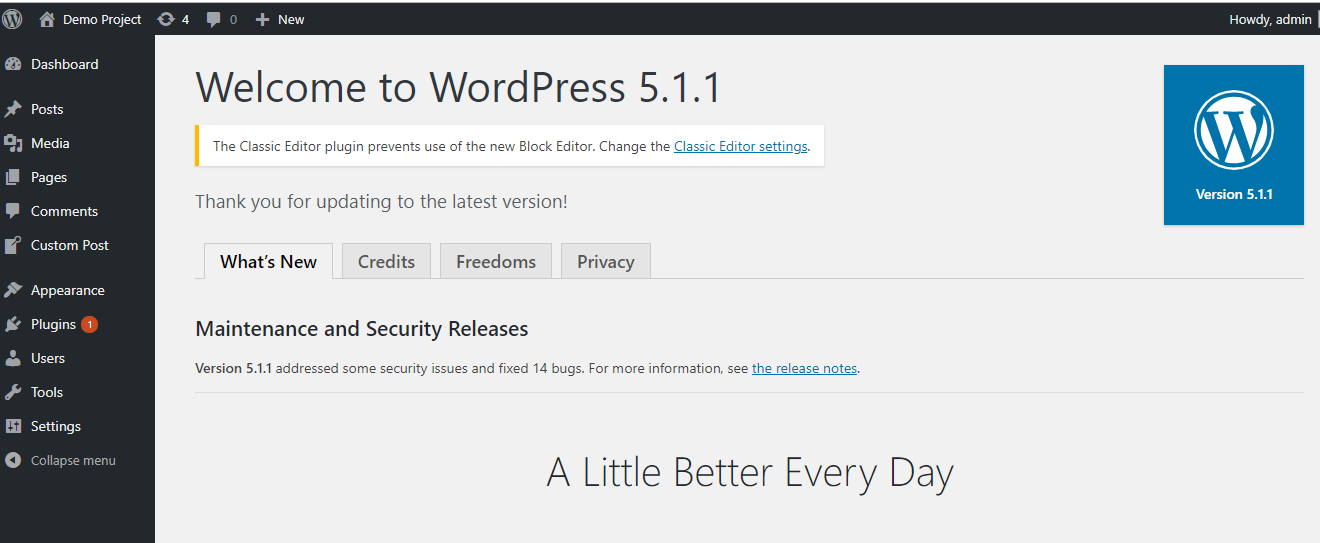
After completing the update, you will redirect to a whole new screen as shown in the screenshot below. Here, you can also see the list of all the bug fixes and security updates.
Method 2: Manually with the help of FTP
You can also update the WordPress core manually with the help of FTP. For this purpose, you need to make use of FileZilla.
For using an FTP program, you need to have the following details – username, password, hostname & port. Once you have these details, you can proceed further.
For this method also, you need to fulfill the prerequisites stated above. After that, you can go ahead and start the update.
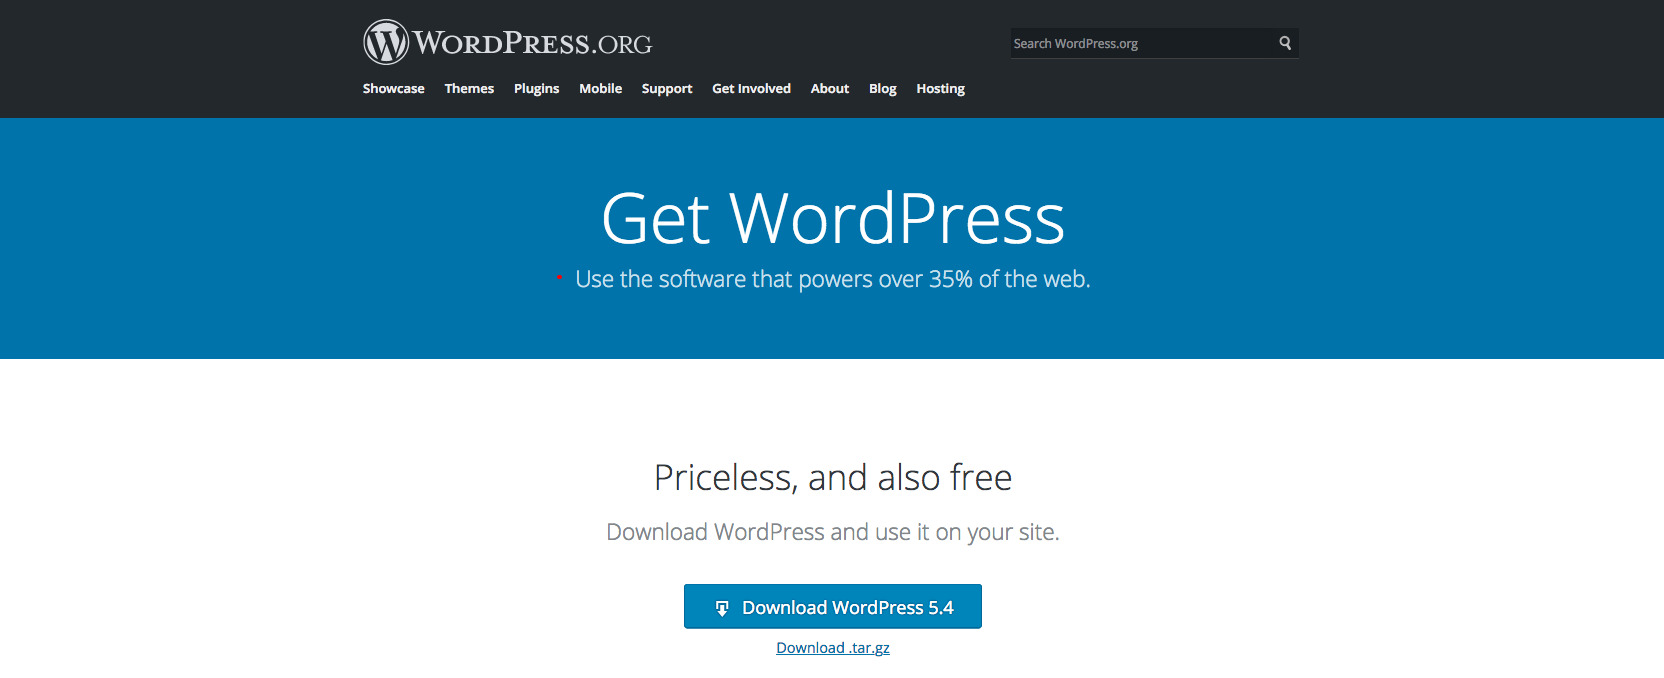
Step 1: Download The Latest Version Of WordPress
First of all, navigate to the Official WordPress Website and download the latest version of WordPress as shown in the screenshot below.
After the completion of the download process, extract the WordPress archive on your PC using WinRAR or WinZip.
Inside the WordPress folder, you will see plenty of subfolders such as wp-admin, wp-includes, and wp-content as well as the files like index.php, wp-login.php, wp-config-sample.php, etc.
Step 2: Access The WordPress Root Directory
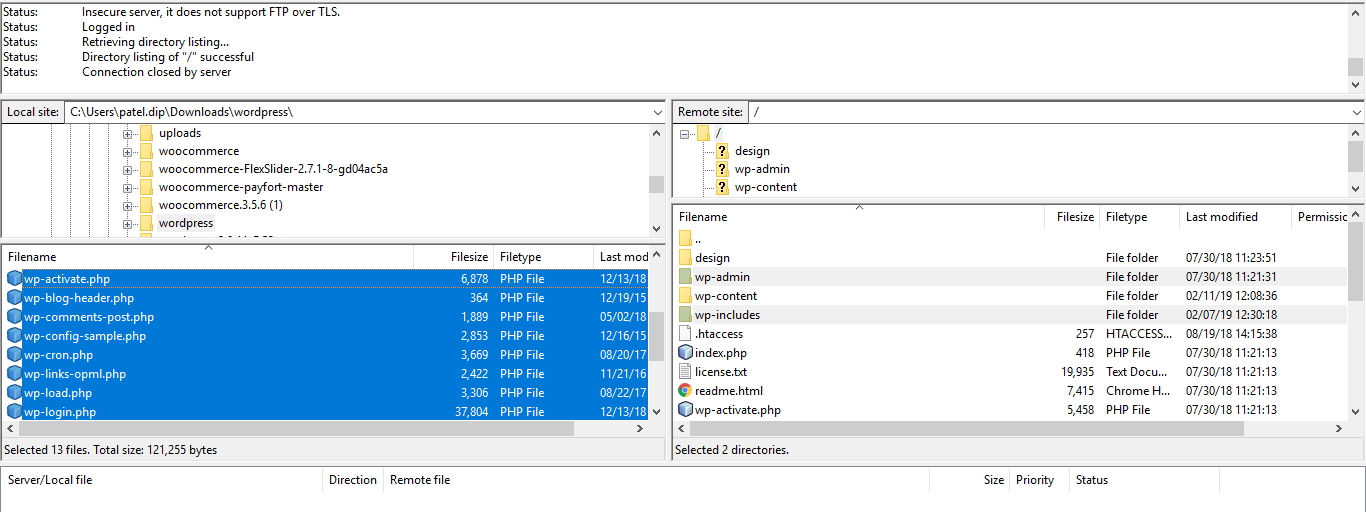
Using FTP details, try to access the WordPress root directory as shown in the screenshot below.
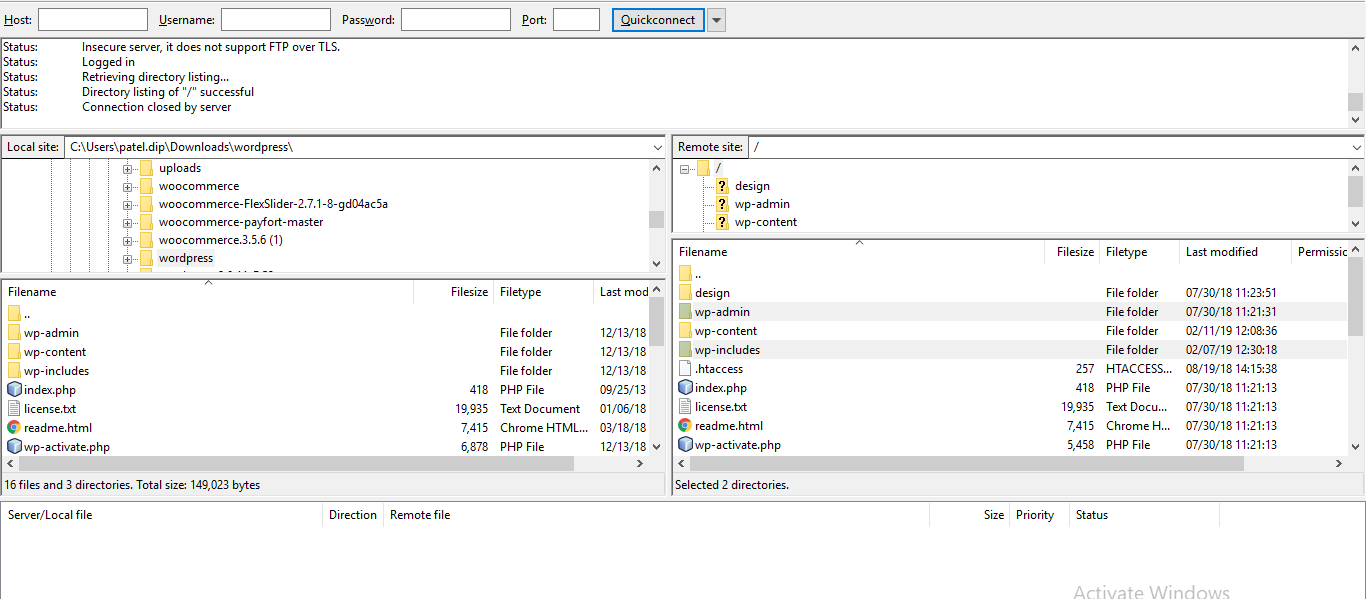
Once you get access of the root directory, try to move the files of the latest WordPress version to the root directory. You need to replace the existing files & folders for that purpose.
First of all, delete the current wp-admin and wp-includes folders from the host. If you’re utilizing FileZilla, then you need to select those folders and click on the delete option.
Make sure you don’t make any changes to the wp-content folder. The reason behind that is, your plugins, themes & all the media files are residing inside that folder.
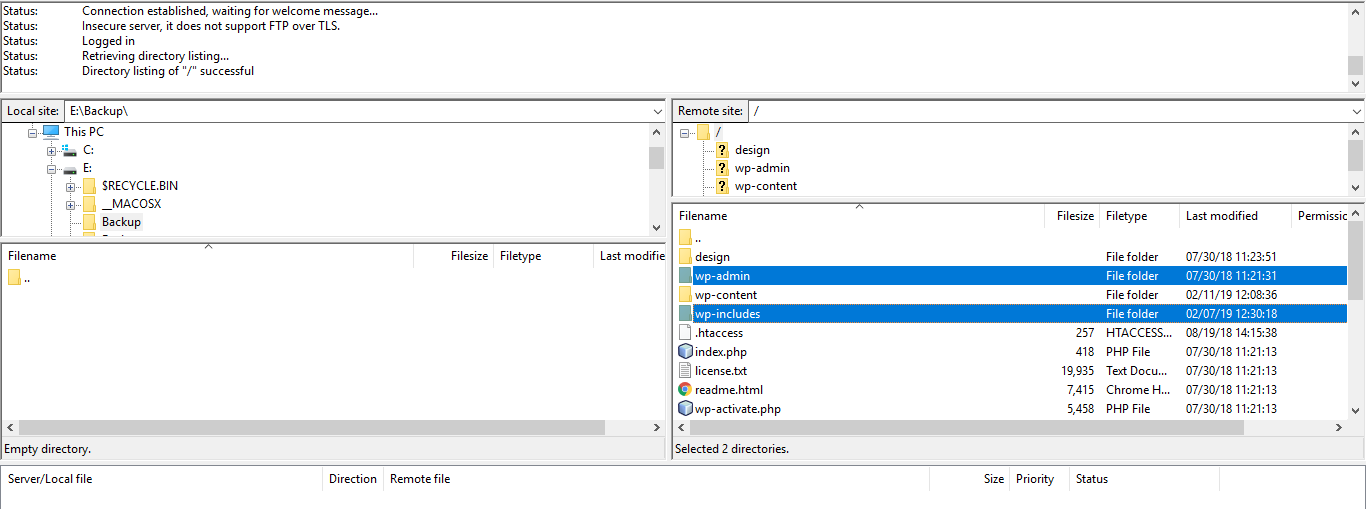
Step 3: Upload The Latest Versions Of All Folders & Files
After deleting the old the existing wp-admin and wp-includes folders, it’s time to upload the new ones.
For that purpose, move to the WordPress folder inside your PC as shown in the screenshot below.
Now, select the wp-includes and the wp-admin folder, right-click and pick the Upload option. After you have got the latest version of all the folders, it’s time to upload the new files. In this case, you don’t need to delete anything. You just need to overwrite all the files.
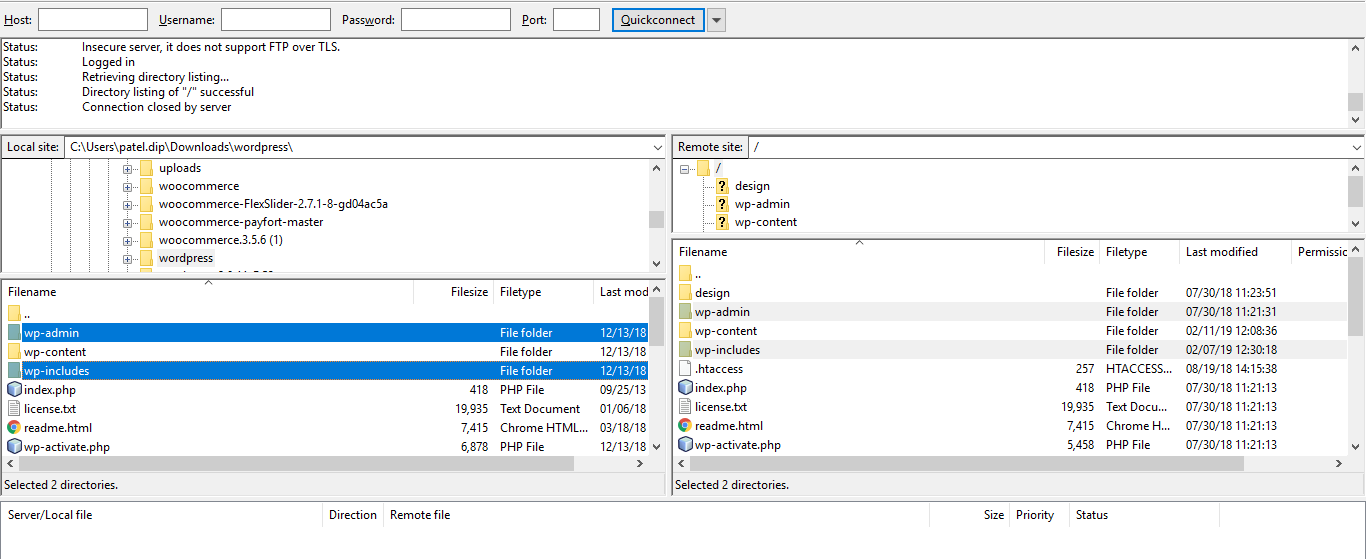
For that purpose, select all the files from the left panel as shown in the screenshot below, right-click and then, pick the upload option.
After the upload process gets over, you will get a confirmation dialog box. In that box, pick the overwrite option and click on the OK button.
Once you’ve all the updated files, move to the wp-config-sample.php file and check if there are any coding line missing in the wp-config.php file.
If that’s the case, then copy those lines and paste to the existing wp-config.php file on the webserver. The last step is to check whether your website is working as required or not.
For that purpose, move to your admin area, i.e., yoursite.com/wp-admin/upgrade.php/. If everything is working well, then upgrade your database.
Method 3: Using SSH & WP-CLI
For this method, you need to have SSH access to your WordPress root directory, i.e., public_html. Updating the WordPress ecosystem via WP-CLI is a time-consuming process. The reason behind that is, you need to update both the files and the database.
Now, if you’ve installed the WordPress in a specific folder i.e., public_html/your site, then the WordPress root directory is your site.
First of all, make use of cd command for moving to the root directory:
cd public_html
After that, check the version of WordPress:
wp core check-update
The output will be as shown below:
version | update_type | package_url |
+---------+-------------+---------------------------------------------------------------+
| #.#.# | minor | https://downloads.wordpress.org/release/wordpress-#.#.#.zip |
| #.#.# | major | https://downloads.wordpress.org/release/wordpress-#.#.#.zip
If there is no update available for your WordPress website, then there will be a message such as “Success: WordPress is at the latest version.”
For updating the WordPress, run the following command:
wp core update
The output will be as shown below:
Updating to version #.#.# (en_US)...
Downloading update from https://downloads.wordpress.org/release/wordpress-#.#.#-no-content.zip...
Unpacking the update...
Cleaning up files...
No files found that need cleaned up.
Success: WordPress updated successfully.
To update the WordPress core vis WP-CLI, utilize the following commands:
- Database updates :
wp core update-db - Theme updates :
wp theme update --all - Plugin updates :
wp plugin update --all
Method 4: Automatically via cPanel, wp-config.php & functions.php
To enable automatic update for your WordPress, add the following line of code your wp-config.php file.
define('WP_AUTO_UPDATE_CORE', true);
How To Update WordPress Themes & Plugins?
So far, we have analyzed the various methods to update the WordPress core. In this section, we will examine the way to update the plugins & themes.
For that purpose, move to the WordPress Admin Dashboard > Updates as shown in the screenshot below.
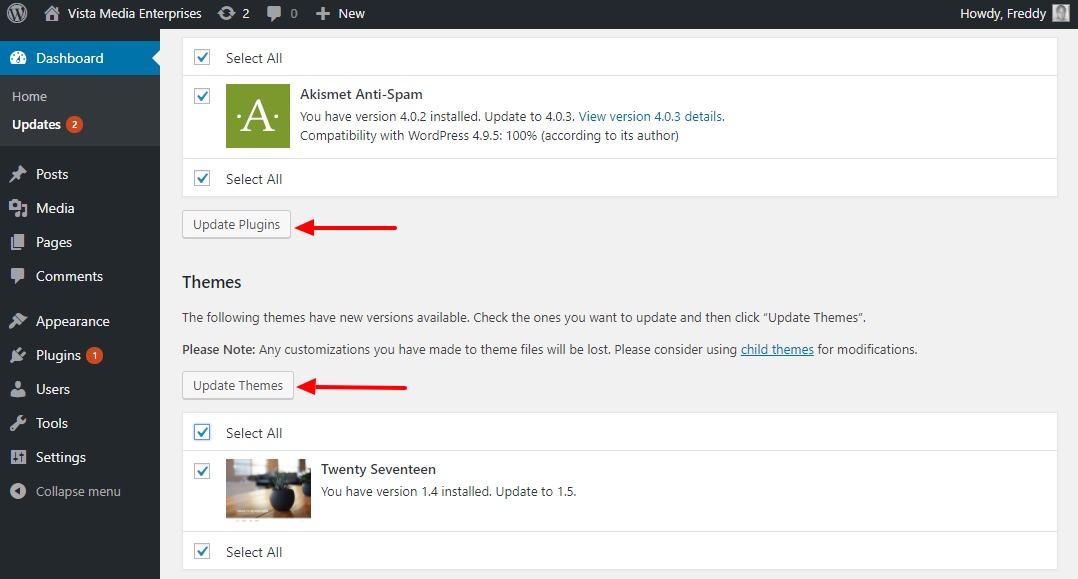
Here, you can view the option for Update Themes & Update Plugins. With the help of this option, you can update all the plugins and themes at one go.
However, if you want to update a particular plugin, you can also do that.
For that purpose, you need to move to WordPress Admin Dashboard > Plugins > Installed Plugins as shown in the screenshot below.

For updating an individual theme, you can move to WordPress Admin Dashboard > Appearance > Themes as shown in the screenshot below.
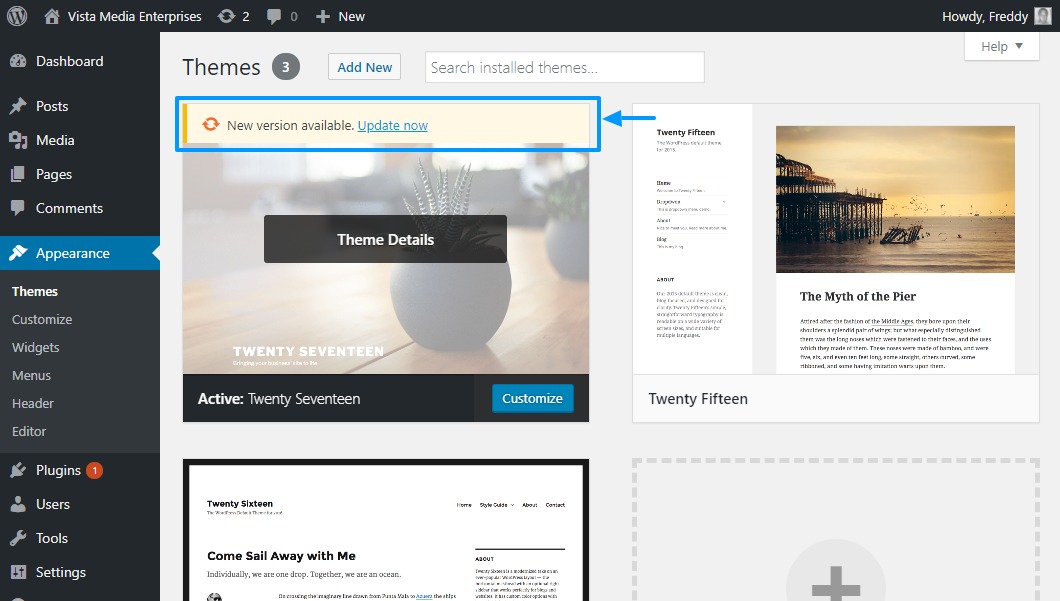
Just remember one thing that when you update any theme, you will lose all the customization options. So, always be aware of that prospect.
Conclusion
Nowadays when WordPress CMS is ruling the entire globe, it becomes vital for all the WordPress owners to know the process of updating the WordPress ecosystem.
Taking this scenario into perspective, here we have tried to provide you with an in-depth guide on how to update the WordPress ecosystem in a safe manner.
If you’ve any questions or suggestions regarding this blog, then feel free to ask them in our comment section. We’ll try to respond to each of your queries.