WordPress is known as the most popular website builder in the world. It powers over 33% of all websites on the internet. The main reason for that is because WordPress is easy to install which makes it easy for anyone to create a website.
All best WordPress web hosting companies allow you to install WordPress with just few clicks. In most circumstances, installing WordPress is a simple process that takes less than five minutes to complete.
In this tutorial, our goal is to offer a complete WordPress installation tutorial for beginners and advanced users alike.
For beginners, we will show you how to install WordPress on all top hosting platforms by using 1-click install scripts like Fantastico, Softaculous, and QuickInstall.
We will also explain how to install WordPress manually using FTP for our intermediate users.
Lastly, for our beginner developer and designers, we will show you how to install WordPress on a local computer (Windows, Mac, and Linux).
Apart from showing you how to install WordPress, we will also give you tips on things to do after you install WordPress.
Things You Need Before Installing WordPress
Before you install WordPress, first you will need a domain name and a good web hosting company that knows WordPress.
We highly recommend that you use ASPHostPortal because they will give you a free domain and 60% off their hosting plan (special for WPBeginner users).
The reason we recommend ASPHostPortal is because they are one of the largest hosting companies in the world. They are also an officially recommended WordPress hosting provider.
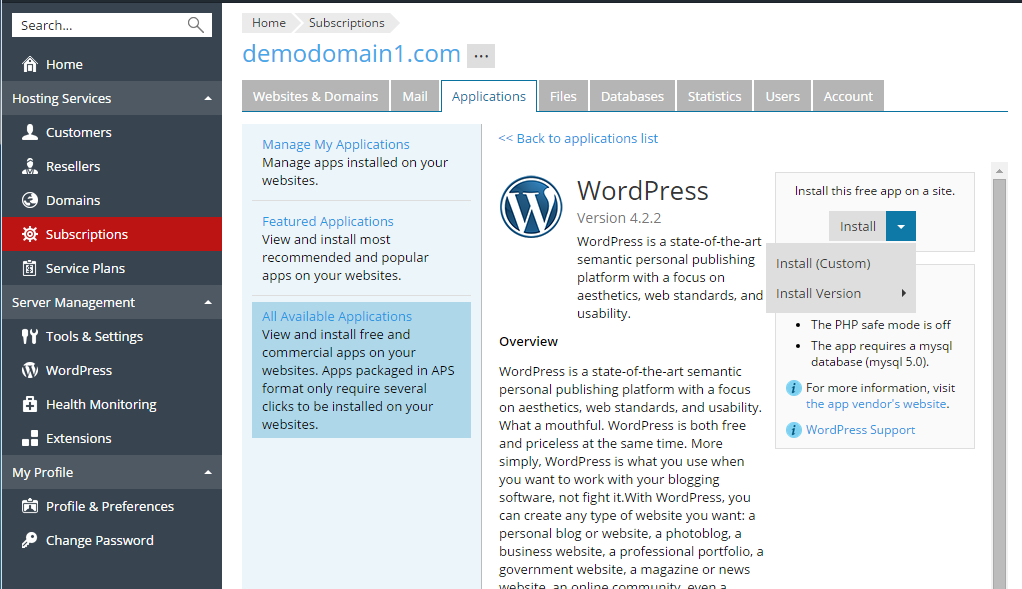
METHOD #1: QUICK INSTALLATION
To quickly install the latest WordPress version, follow these steps:
- Log in to Plesk.
- In the left sidebar, click Applications.
- On the Applications page, click Featured Applications.
- Next to WordPress, click Install. The Installation of WordPress page appears.
- In the Specify the location where this web application should be installed section, select the protocol, domain, and directory.
- Click Install. Plesk installs the
application, and then displays configuration settings, including login information.
METHOD #2: CUSTOM INSTALLATION
To install WordPress using custom settings, follow these steps:
- Log in to Plesk.
- In the left sidebar, click Applications.
- On the Applications page, click Featured Applications.
- Next to WordPress, click the down arrow, and then click Install (Custom). The Installation of WordPress page appears.
- Review the license agreement, select the I accept the terms of License
Agreement check box, and then click Next. - In the Specify the location where this web application should be installed section, select the protocol, domain, and directory.
- Under Update Settings, select the Automatically update this app when updates are available
check box to keep the application updated. - Under Administrative access, select one of the following options:
- Use administrative credentials not connected to any particular user: Select this option if you want to create a dedicated administrative account for the application.
- Grant administrative access to
existing user: Select this option if you want to use an existing user as the administrator for the application.
- Use administrative credentials not connected to any particular user: Select this option if you want to create a dedicated administrative account for the application.
- Specify the remaining options and settings for the application.
- Click Install. Plesk installs the
application, and then displays configuration settings, including login information.
